
Warehouse Setup & Locations
Configure warehouses, zones, and bin locations for your pick-pack operations
Warehouse Setup & Locations
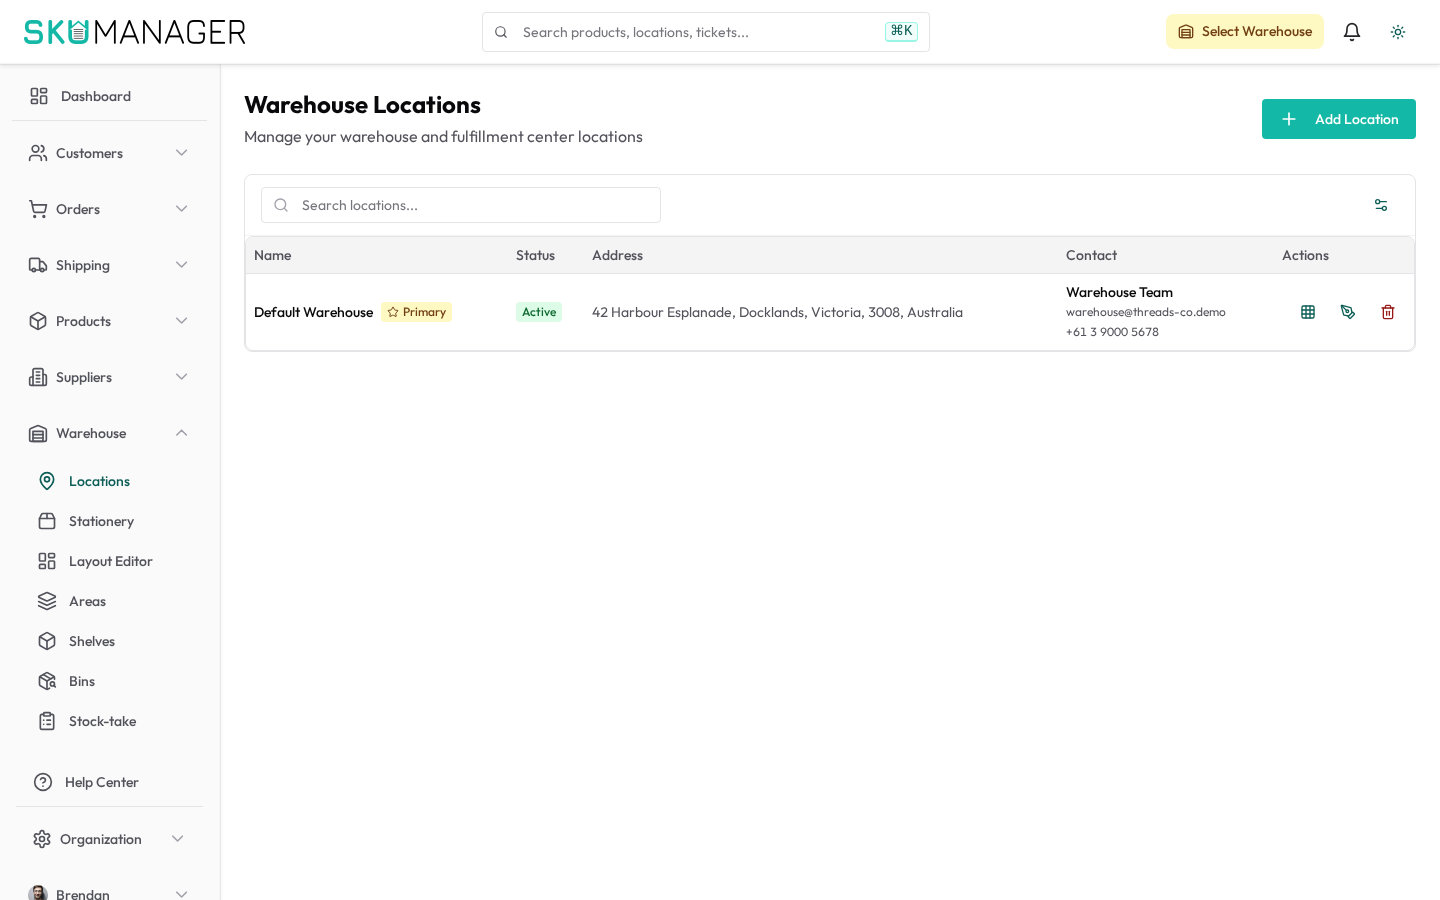
SKU Manager supports multiple warehouses, each with a flexible location hierarchy so warehouse staff can navigate efficiently during picking and receiving.
Creating a Warehouse
- Go to Warehouse → Add Warehouse
- Enter a name and optional address for the site
- Click Save
You can create as many warehouses as your plan allows. Each warehouse tracks its own stock levels independently.
Defining Locations Within a Warehouse
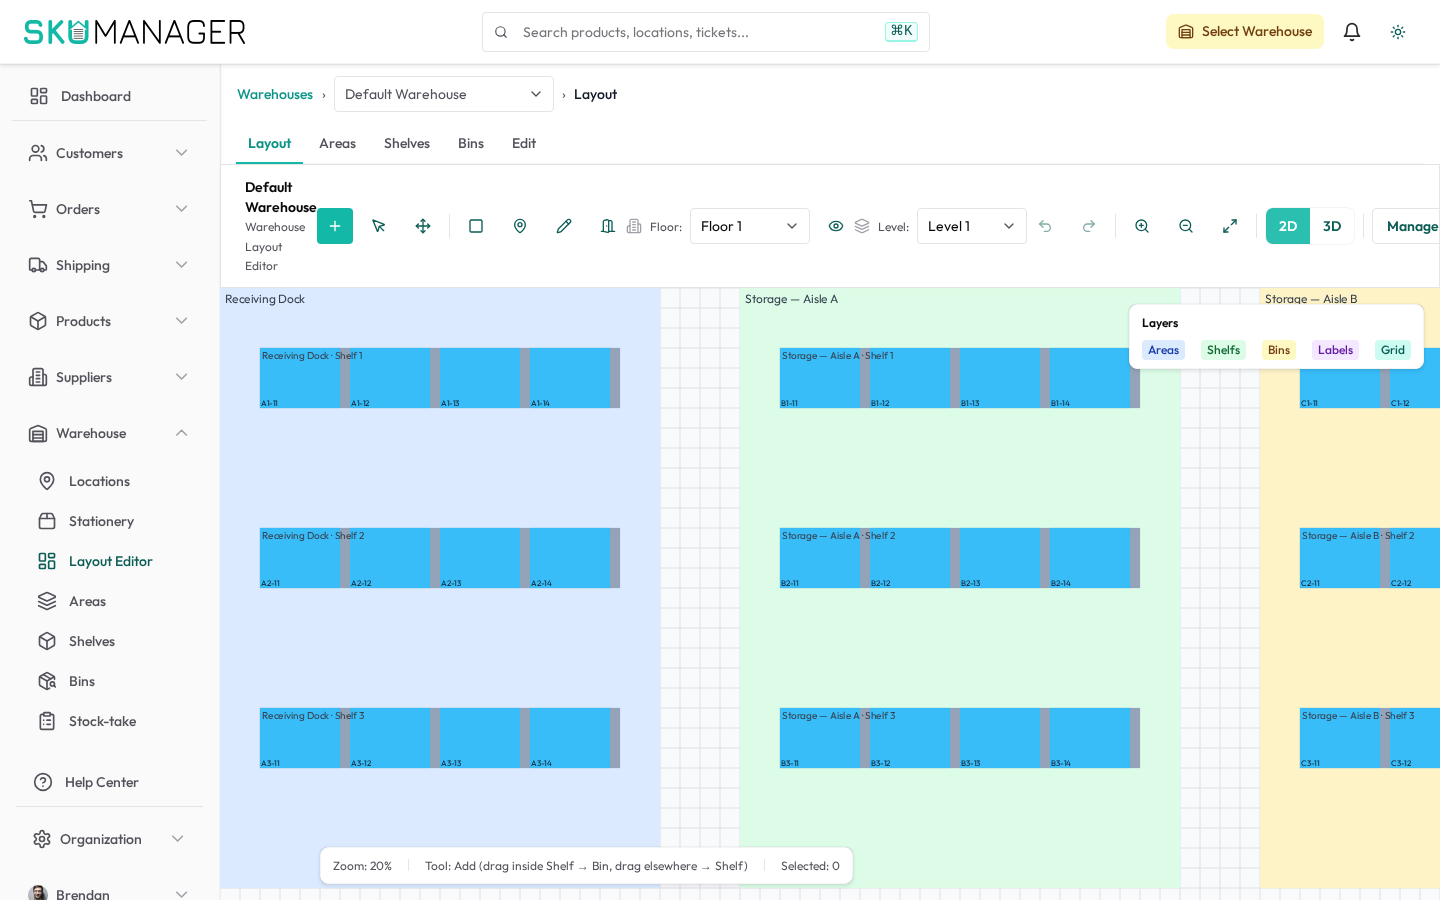
Locations represent physical storage areas within a warehouse — aisles, shelves, bin slots, or zones. A clear location structure speeds up picking and reduces errors.
Recommended hierarchy:
Warehouse → Zone → Aisle → Shelf → Bin
Example: Warehouse A / Zone B / Aisle 3 / Shelf 2 / Bin 04 becomes the location code A-B-3-2-04.
To add locations:
- Go to Warehouse → [Warehouse] → Locations → Add Location
- Enter the location code and an optional description
- Set the location type (bulk storage, pick face, quarantine, returns)
- Click Save
Repeat for each storage position, or use Bulk Import to upload a CSV of location codes.
Assigning Stock to Locations
When receiving stock or adjusting inventory, you specify which location within a warehouse the stock sits in. A single product variant can have stock in multiple locations within the same warehouse.
To move stock between locations within the same warehouse:
- Open the warehouse's bin stock from the Warehouse area
- Select the product variant
- Choose the source location and destination location
- Enter the quantity to move
- Confirm the transfer — the movement is logged in inventory history
Pick Path Optimization
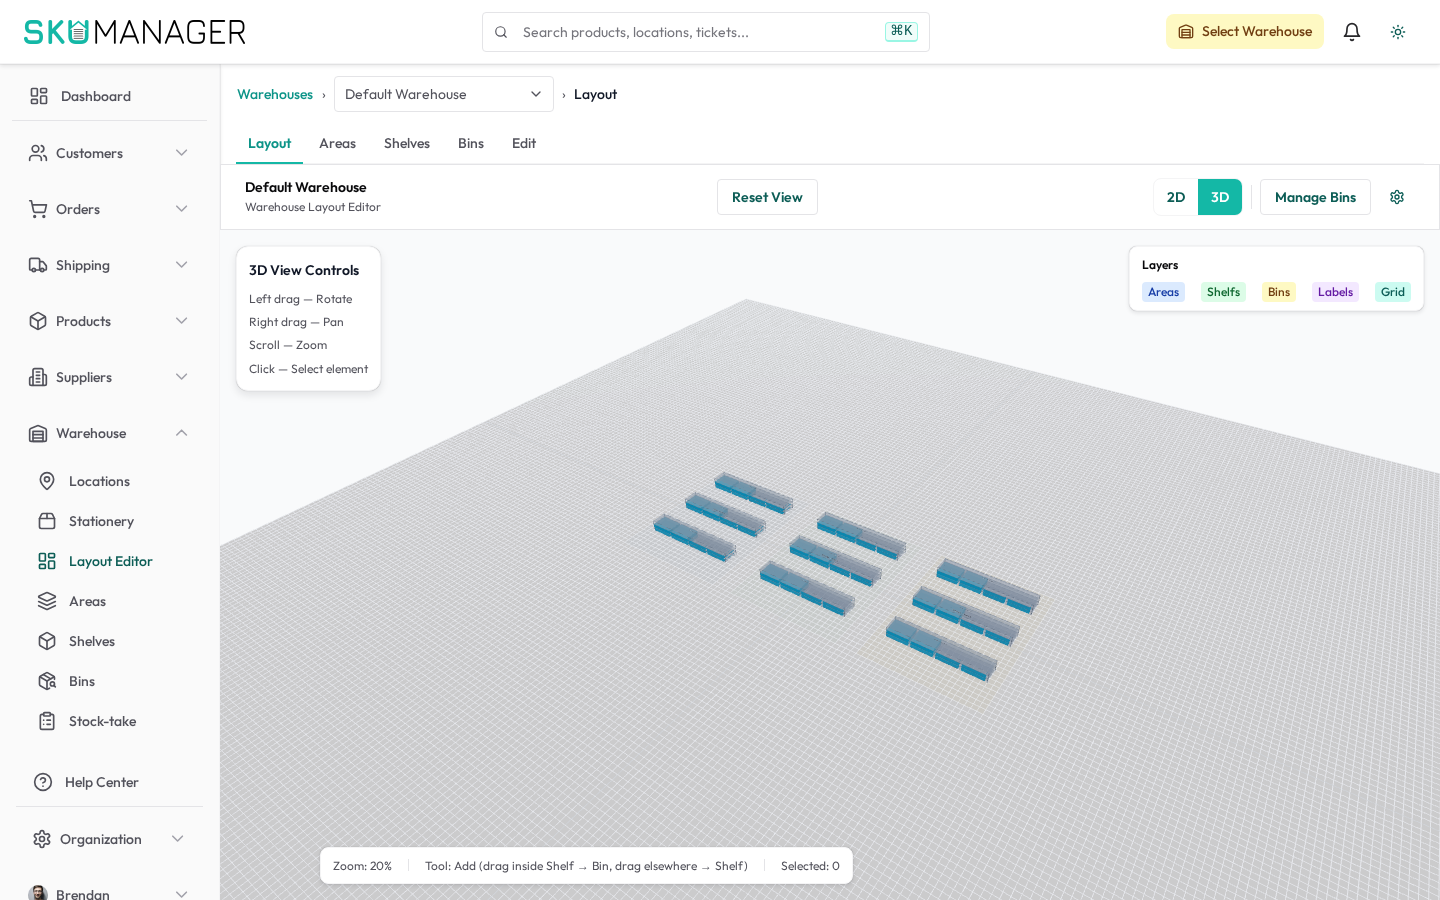
When a pick list is generated for an order, SKU Manager sorts items by location code to minimize walking distance. Ensure your location codes are structured logically (e.g. numerically by aisle and shelf) so the sort order matches the physical layout.
To review or adjust the sort order, open the warehouse from the Warehouse area and configure its pick sequence.
Printing Location Labels
Print QR code labels for each location to enable scanning during receiving and picking:
- Go to Warehouse → [Warehouse] → Locations
- Select the locations you want to label
- Click Print Labels
- Choose label size and print
Staff can scan location QR codes to confirm they are picking from or putting stock into the correct position.
Multi-Warehouse Transfers
To transfer stock between warehouses:
- From the Warehouse area, start a new warehouse-to-warehouse transfer
- Select the source warehouse, destination warehouse, and the product variants and quantities to move
- Create the transfer — it is created with status In Transit
- At the destination warehouse, open the transfer and click Confirm Receipt to update inventory levels at both sites