
Barcode Scanning & Fulfillment
Use barcode scanning to speed up pick-pack-ship workflows in SKU Manager
Barcode Scanning & Fulfillment
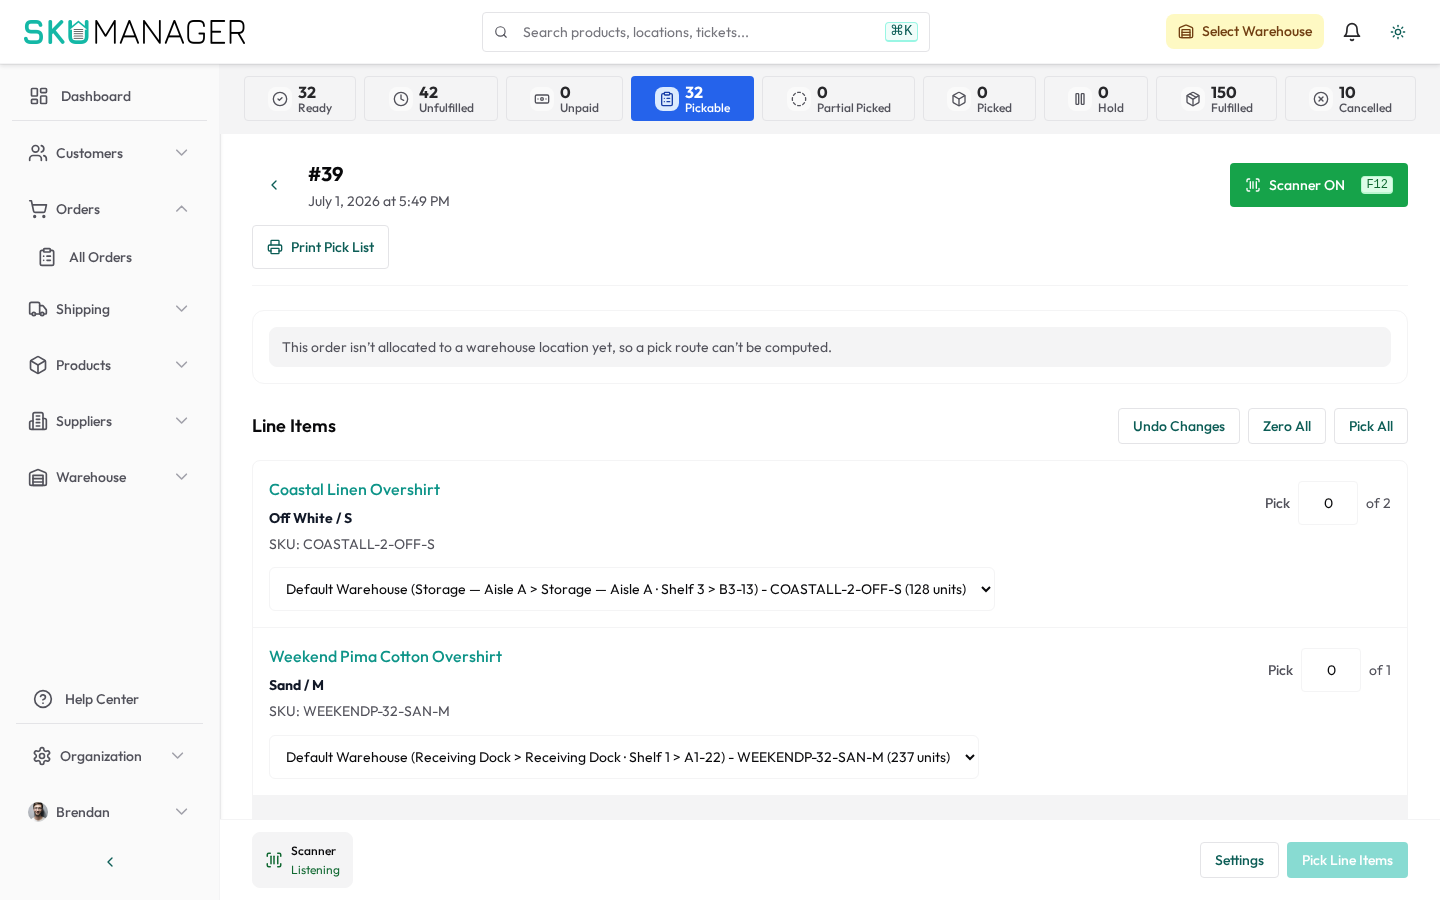
SKU Manager's barcode scanning system lets warehouse staff fulfill orders faster and with fewer errors by scanning product barcodes instead of manually checking each line item.
Setting Up Barcode Scanning
Barcode scanning works with any USB or Bluetooth barcode scanner that presents as a keyboard, as well as the built-in camera on mobile devices.
- USB/Bluetooth scanners: plug in and scan — no driver installation required
- Mobile camera: open SKU Manager in a mobile browser; the camera activates automatically in scan mode
- Zebra or other Android scanners: use the mobile web app in Chrome; configure the scanner to send a newline character after each code
Scanning to Fulfill an Order
- Navigate to Orders and open a pending order
- Click Start Picking — the scanner view opens, showing the pick list
- Scan each item's barcode as you collect it from the shelf
- SKU Manager matches the barcode to the expected line item and marks it picked — a confirmation beep or visual indicator confirms each scan
- If a scanned barcode does not match any expected item, a warning appears — do not force through; re-check the item or location
- Once all items are scanned, click Mark as Packed
- Scan or type the carrier tracking barcode to register shipment and push the fulfillment to Shopify
Supported Barcode Formats
SKU Manager reads the following formats:
- EAN-13 / UPC-A / UPC-E — standard retail barcodes
- Code 128 — common in warehouse labels
- QR codes — generated by SKU Manager for warehouse location labels and internal workflows
- Code 39 — legacy warehouse labels
Printing Barcode Labels
To generate labels for your products:
- Go to Products → [Product] → Variants
- Select one or more variants and click Print Labels
- Choose label size and format (Avery, Dymo, Zebra ZPL, or PDF)
- Print directly to a connected label printer or download the PDF
For warehouse location labels, go to Warehouses → [Warehouse] → Locations, select locations, and click Print Location Labels.
Receiving Stock with Barcode Scanning
When a purchase order arrives:
- Open the purchase order under Suppliers → Purchase Orders → [PO Number]
- Click Receive Stock
- Scan each item's barcode — quantities increment automatically as items are scanned
- Review the received quantities against the PO before confirming
- Click Confirm Receipt to update inventory levels
Troubleshooting Scan Errors
| Issue | Fix |
|---|---|
| Scanner not recognized | Check USB connection; try a different port; ensure it sends a newline/Enter after each scan |
| Barcode not found | Product may not have a barcode registered — add it under Products → [Variant] → Barcode |
| Wrong item matched | Multiple variants share a barcode — check for duplicate barcode values under Products |
| Mobile camera won't focus | Ensure adequate lighting; hold the device 10–30 cm from the barcode |